
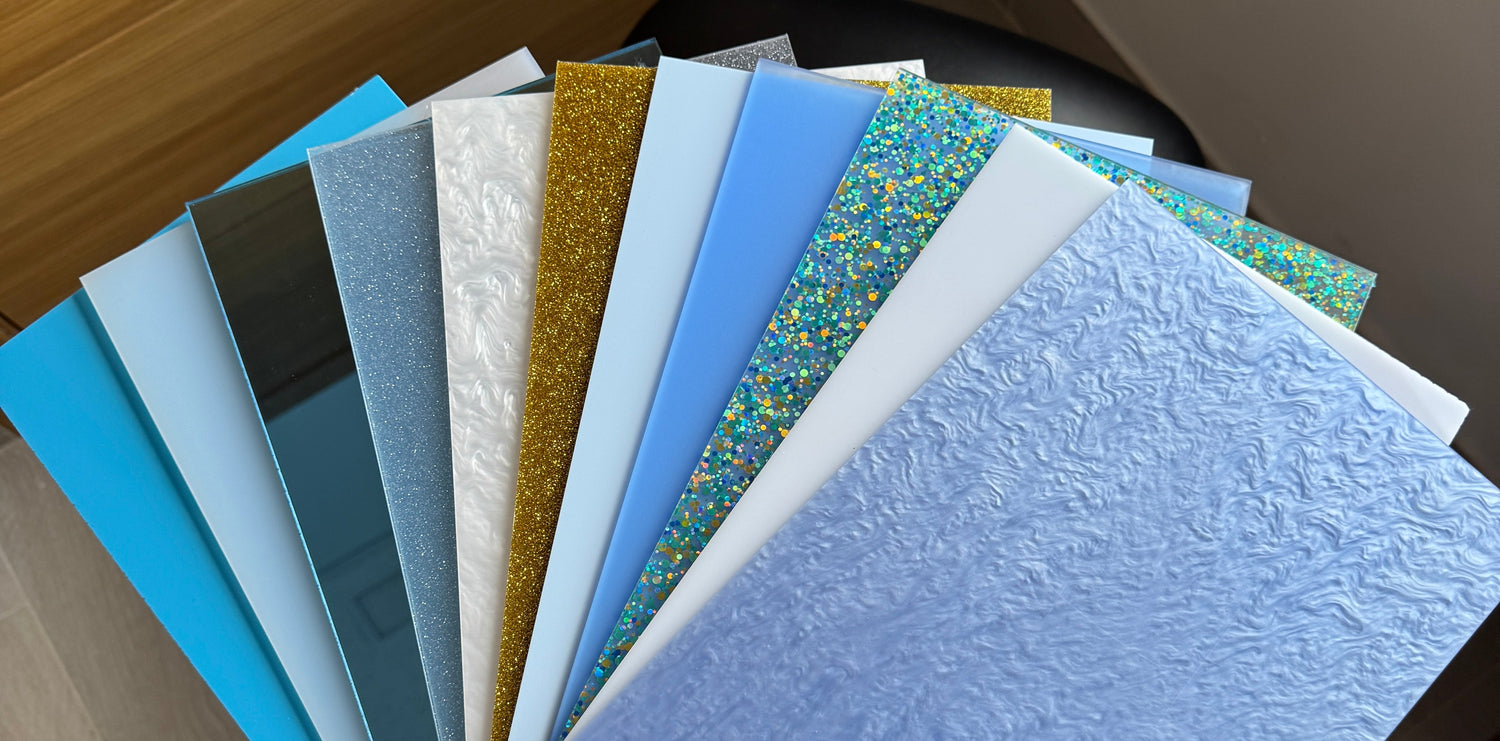
How to Cut and Engrave Acrylic? What You Need to Know Before You Start
There's a question we get asked a lot:
"Lidia, how do I cut and engrave acrylic?"
And the truth is, as much as we'd love to give a universal answer, the correct answer is:
it depends.
Yes, I know that's probably not what you expected to read.
But when it comes to laser cutting and engraving, there's no magic setting that works for all machines, all materials, and all workshops.
Each piece of equipment works differently, and several factors directly influence the result.
Why isn't there a universal setting?
When working with acrylic, factors such as the following come into play:
💠 The machine you use
💠 Your laser's power
💠 The condition of the lens
💠 The power of the air assist
💠 Your equipment's maintenance
That's why parameters that work perfectly on one machine might not give the same result on another.
Our recommendation is always the same: Do tests.
It might seem like a waste of time at first, but dedicating a few minutes to testing on a corner or a scrap piece usually saves a lot of material, time, and frustration later on.
Three important tips before cutting or engraving acrylic
While there isn't a universal setting, there are some recommendations that usually make a big difference in the final result.
1️⃣ If you're only cutting, leave the protective film on.
As long as the original protective film is well-adhered to the material, it's ideal to keep it on during cutting.
The protective film helps prevent small marks, dirt, and residue generated during the process.
2️⃣ If the protective film is lifted, don't try to re-adhere it.
This is a common mistake.
When the protective film starts to peel off and we try to re-adhere it manually, air bubbles or poorly adhered areas usually appear.
This can affect the cutting result and leave marks on the surface.
In these cases, the best approach is to:
🌟 Completely remove the protective film.
🌟 Use masking tape or similar to protect the surface during the work.
It's a simple solution and usually offers better results.
3️⃣ If you're engraving and cutting, remove the protective film from the side you're engraving.
If you're also going to cut the piece afterward, you can keep the protective film on the opposite side to continue protecting the material during the process.
The best advice: always start with a corner or scrap piece.
When you receive new material, first do a test. Then another. And then, once you're confident in the result, start production.
Because dedicating five minutes to testing will always be more economical.
We've all thought at some point:
"Oh, it'll surely turn out fine."
And sometimes it does.
But other times, it's a learning experience.
Conclusion
If you have doubts about how to cut and engrave acrylic, don't look for a universal setting.
Seek to understand how the material responds in your machine.
Remember:
✅ Do tests before producing.
✅ Keep the original protective film on during cutting, as long as it's in good condition.
✅ If the protective film is lifted, use masking tape.
✅ Remove the protective film from the side you're engraving.
By following these recommendations, you'll achieve cleaner results, reduce errors, and make much better use of each acrylic sheet.
Leave a comment
This site is protected by hCaptcha and the hCaptcha Privacy Policy and Terms of Service apply.